Yesterday I started the proper migration of my Google Photo assets from Google Takeout to [PhotoPrism](https://www.photoprism.app/). The first step was to mount the drives to the linux system, the second was to transfer the photos from the external hard drive to the internal SD card, unzip them, and then start imposing assets.
The first bottle neck is exporting 800 gigabytes from Google drive to a local drive. I chose to download the files in one gigabyte packages in fifty gigabyte sets over many hours. This depends on your connection so the experience will vary.
## Moving Between Disks
The second bottle neck is when moving the files from an external hard drive to a microsd card. The transfer can be quite time consuming which is part of my reason for using a Pi, rather than a laptop. A laptop would be much faster but it will time out unless you tell it not to sleep. The issue with that is that laptops are not designed to be un for days at a time, without sleeping every so often. Once the Pi is working you can leave it to work.
Ideally I would keep the files on the external drive and skip this time consuming step. I wanted to test the feasability of using an SD card, to keep things tidy once the time consuming phase is over.
## Unzipping
PhotoPrism needs files to be unzipped to work. This can be a time consuming task if you do so with the Pi, rather than a laptop or desktop. I would recommend unzipping the files ahead of moving the files from an external drive to an internal drive. At the time of writing I did not find a quick way of unzipping files with a single command.
## Importing From the Import Folder
PhotoPrism has an import folder. This is where you extract your unzipped Google Takeout Folders to. Select “move files” to delete all files that have been automatically imported. Click import and then PhotoPrism does the rest. This is the stage that takes the most time. PhotoPrism orgqanises the photos by year, month, date, location, tags, and people. This is the stage where you can go for a walk, or enjoy a good night of sleep because it will take hours to complete.
I am not clear whether the JSON files for images are always zipped within the same archive or whether they are zipped once every few files. This is part of my reason for experimenting with ingesting several gigabytes at a time, rather than one folder at a time. The second reason is that if I give it tasks that take hours it gives me no excuse to procrastinate. That’s what I did before writing this blog post.
### Recognising Faces
PhotoPrism recognises faces but it doesn’t create a “person” until it has several images. When it does have several images it gives you the opportunity to name that face, or add it to a pre-existing face. It’s nice to watch as faces from your past re-appear, and amusing when you realise how many names you have forgotten, as well as seeing which ones you clearly remember.
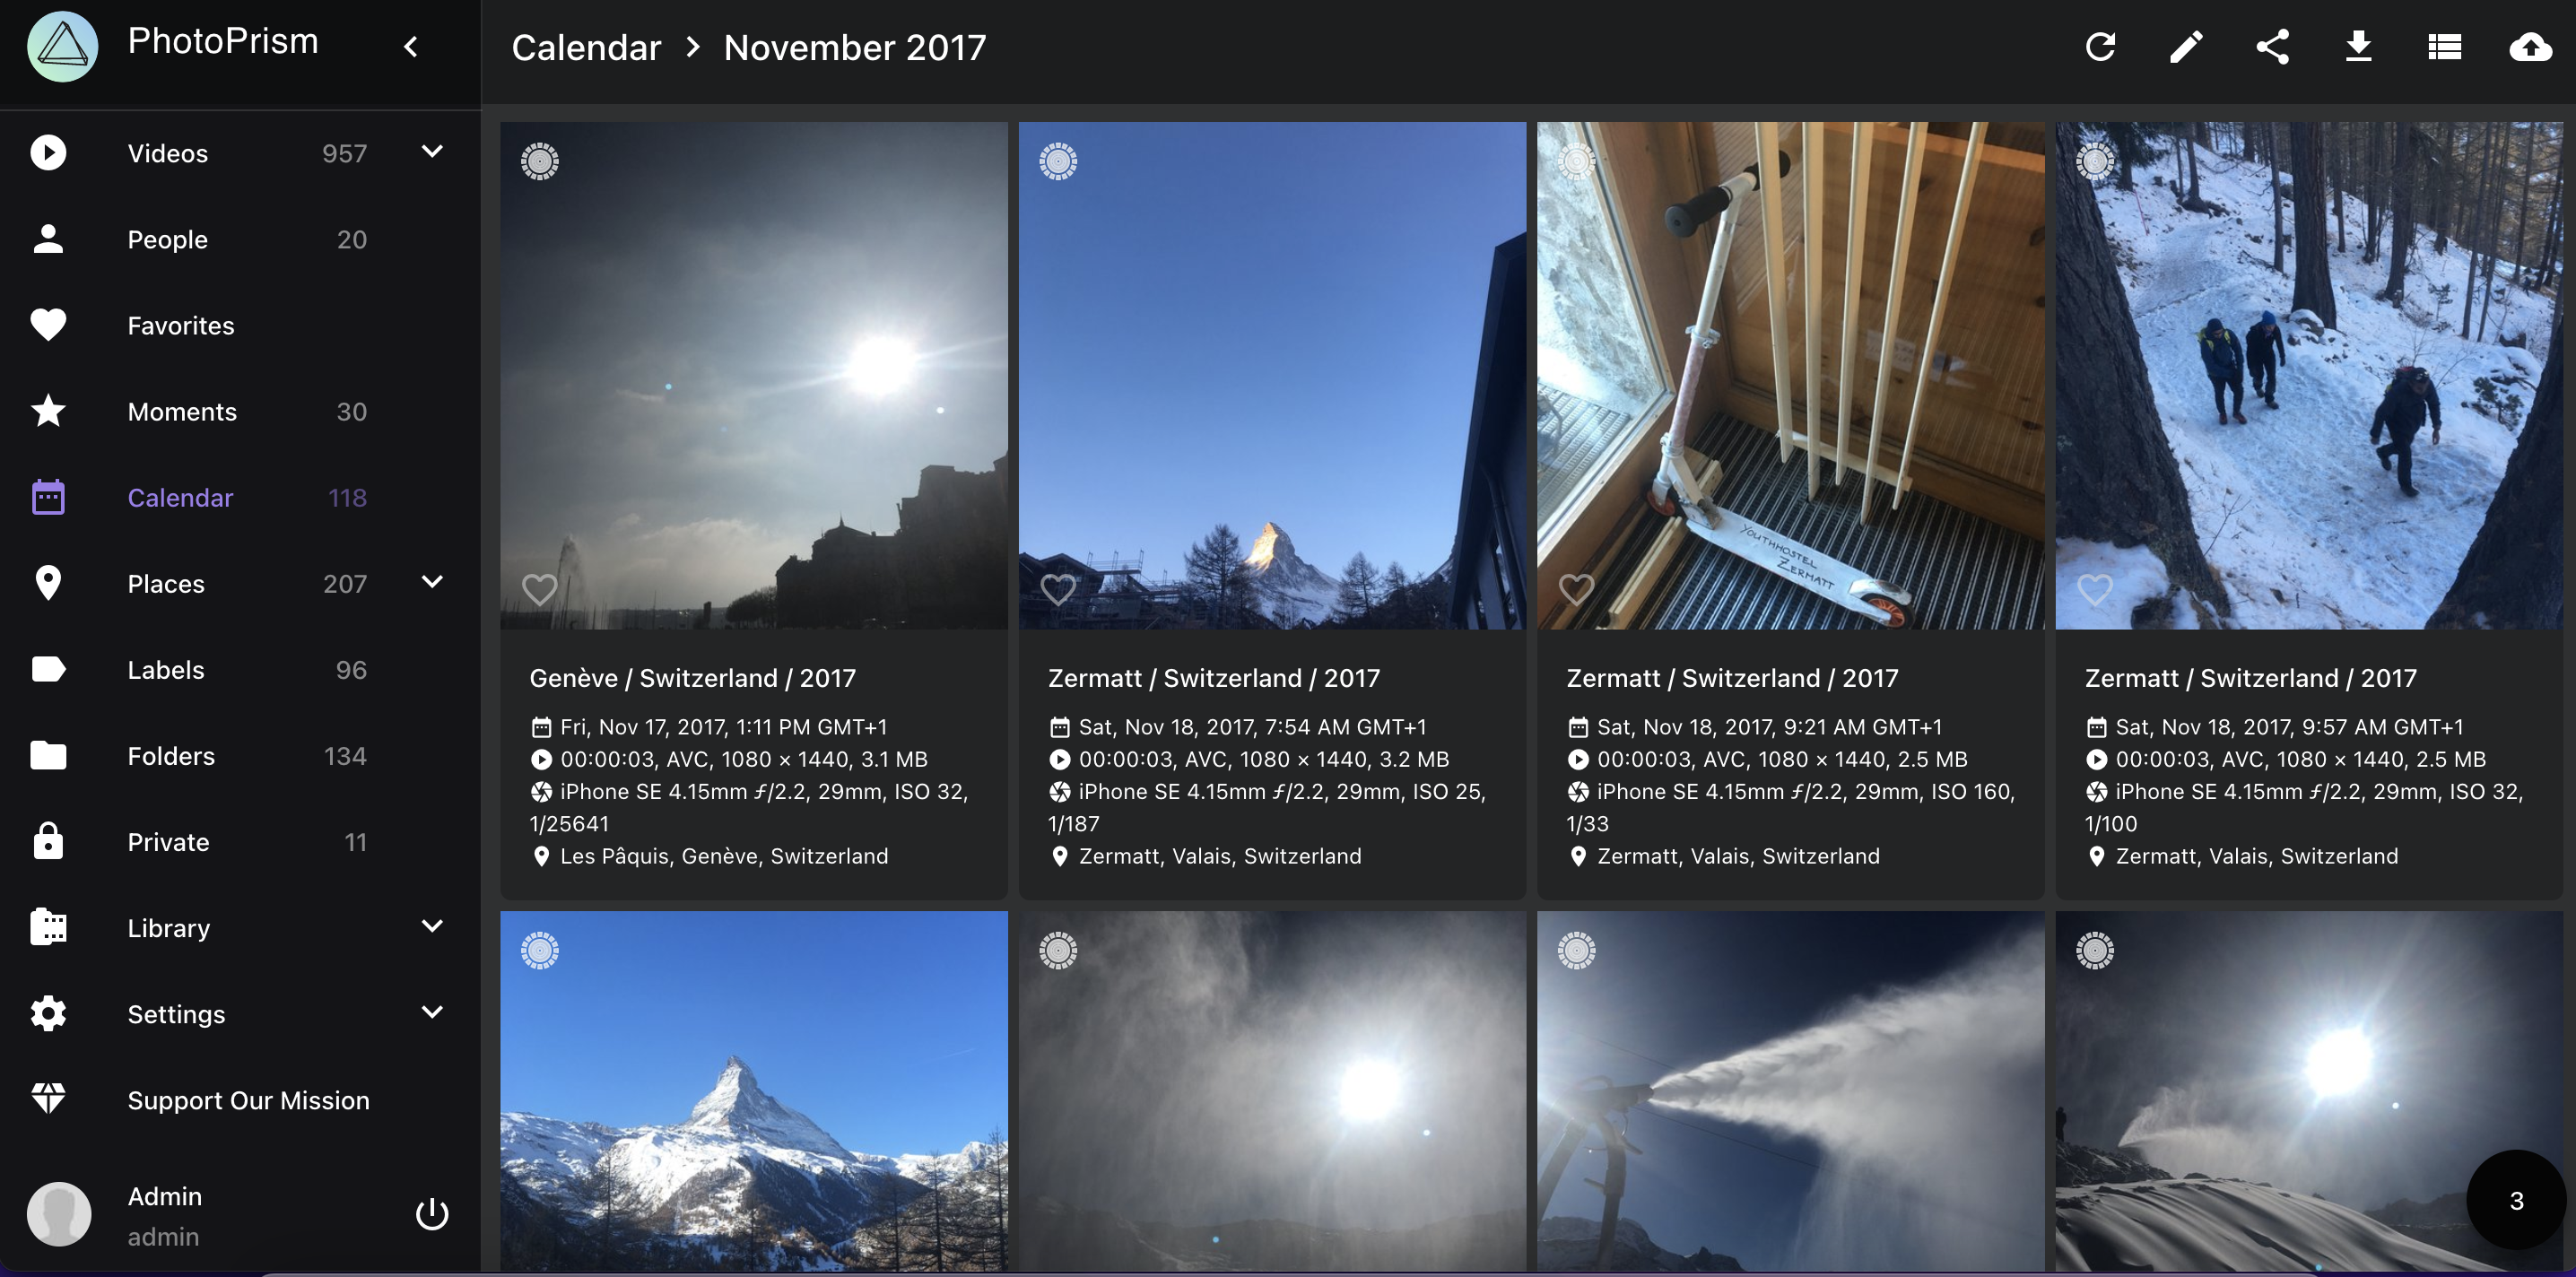
### Recognising Places
At the moment when I am writing this post it has recognised 200 places and 15 states. When it recognises a place you can search by country via the search tool, or by location with the map. States are towns, villages or regions. This is a useful way of organising photos because it shows how much you travel, but also how many places you have been to, once you zoom in enough.
### Cameras
This tool, by reading EXIF info, makes it possible to search for photos by camera. You can search for 360 photos with insta360 or photos from years ago with canon s70 or Canon EOS 5 MkII etc.
### Categories
If you’re looking for photos of food, or aircrafts, or goats, or sheep, or monuments, or historical, you can. It also allows you to seach by colours, for example teal for grass and diving or blue for sunny days and more.
### Years and Months
It is possible to search by year or by month, or both. You can search for December images to see if you can find images of snow, or you can search for June and yellow to find images of drought.
## Import and Log
Two tabs that I spent time watching last night when I first started to import Google Photos properly were “import” and “log”.
The import tab is important because it allows you to know whether files are being imported or not so this allows you to decide whether to import more images or not. I prefer to import 50 gigabytes, clear the import directory, and then import the next 50 gigabytes, rather than to leave it to run for hours and assume that everything was imported correctly. If something fails I like to know when it’s easier to fix. So far I am under the impression that photos are, at the very least, imported into folders by year and month, as well as indexed automatically based on content.
I like to watch the logs to see if errors occur, but also to see when new faces are recognised, whether thumbnails are being generated correctly as well as when a new face cluster is ready to be named.
## Making Photos and Videos Private
With PhotoPrism you can set several images or videos as private at once. You select the first image and then before clicking the last image press shift as you click and it will select that range. You can then click on the lock and those images or videos will be marked as private. Having the ability to select a range of images and apply changes, such as privacy is useful. I use privacy as an example but you could just as easily add a country, or keyword, or anything else.
## The Index Tab
I realise that I should mention the index tab. Indexing runs automatically, as soon as it detects images in a directory or a mounted drive it will attempt to index those files which is both useful and likely to cause a mess. Luckily PhotoPrism comes with a “cleanup” tool to make clearing up orphan files and tidying the index easier.
## It’s Fast
Despite indexing thousands of files, adding metadata, recognising colours, adding categories and labels, as well as generating thumbnails it’s fast. I can load images almost instantly when scrolling up and down. This is despite running on a Pi whilst it’s working hard. This is a great self-hosted alternative to Google Photos and iPhotos. Remember, before cloud storage was a default tools like Picasa existed, and these were great for organising photos. The difference is that now they’re cloud solutions where the cloud is your home Raspberry Pi rather than an app on your phone or laptop.
## User Roles
When you use PhotoPrism for free you can have just one user. If you [pay 2 Euros per month](https://www.photoprism.app/editions#compare) you can have “Super Admin, Admin, User, Viewer, Guest” accounts. This allows you to create individual users, to add friends and family.
## Cloud Option
If you don’t desire to have your own private instance running at home you have a [cloud based solution](https://www.pikapods.com/login?redirect=%2Fpods) that starts at 6.50 Euros per month but it’s unclear what the cost is for storage.
## And Finally
Initially I thought that I would use Nextcloud for media asset management but when it failed to display video files as thumbnails and when I saw that I couldn’t easily get rid of orphan index entries I hesitated between Immich and PhotoPrism. What made me commit to PhotoPrism is that I saw that they had a tool to import from Google Takeout built in. Instead of spending hours or even days or weeks re-organising photos the software would do it for me.
Adobe Lightroom costs 99 CHF per year. Kyno by LessPain Software costs 150 Euros per year and CatDV costs several thousand CHF to purchase. If you know how to setup PhotoPrism you can save money, or upgrade the hard drive to a higher capacity once per year, to ensure less risk of drive failure due to age.
Leave a Reply